Cardiopulmonary resuscitation (CPR) is a life-saving technique that can make all the difference during cardiac emergencies. Whether it’s due to a sudden heart attack, drowning, or other causes, knowing how to perform CPR correctly can help keep blood circulating and improve the chances of survival until professional help arrives. This article covers when to perform CPR, step-by-step instructions for adults, children, and infants, and tips to boost your confidence in emergency situations.
1. Recognizing When CPR Is Needed
CPR is crucial when someone’s heart has stopped beating or when they are not breathing. Knowing when to initiate CPR can prevent delays that could be life-threatening.
- Signs CPR Is Needed:
- The person is unresponsive, even when you tap them or shout.
- They are not breathing or only gasping.
- There is no detectable pulse.
Use Case Scenario: A family member collapses suddenly during dinner. You check for responsiveness and find they are not breathing. Knowing how to administer CPR immediately can keep oxygen flowing to their brain and vital organs until paramedics arrive.
2. CPR Basics: The CAB Method
The American Heart Association (AHA) recommends using the CAB method (Compressions, Airway, Breathing) for CPR. This approach focuses on chest compressions first, as they are the most critical aspect of CPR.
C: Compressions
- Position Your Hands: Place the heel of one hand on the center of the chest (between the nipples). Put your other hand on top and interlock your fingers.
- Give Compressions: Push hard and fast at a depth of at least 2 inches for adults, at a rate of 100-120 compressions per minute. Allow the chest to recoil fully between compressions.
- Tip: Use the rhythm of the song “Stayin’ Alive” by the Bee Gees to maintain the correct pace.
A: Airway
- Open the Airway: Tilt the head back slightly and lift the chin to open the airway.
- Check for Obstruction: Look for any visible blockage in the mouth and remove it if possible.
B: Breathing
- Give Rescue Breaths: Pinch the person’s nose shut, cover their mouth with yours to create a seal, and give two slow breaths. Watch for the chest to rise.
- Continue CPR: Alternate between 30 chest compressions and 2 rescue breaths until help arrives or the person regains consciousness.
3. Performing CPR on Children
CPR for children (ages 1-8) follows the same CAB method but with slight modifications:
- Hand Position: Use one hand instead of two, applying compressions at a depth of about 2 inches.
- Breath Volume: Use gentler breaths to avoid over-inflating the child’s lungs.
- Compressions Rate: Maintain the same rate of 100-120 compressions per minute.
Tip: If you’re unsure of the age or strength of the child, use your judgment to decide if one or two hands are appropriate for compressions.
4. Infant CPR (Under 1 Year)
Infant CPR requires more delicate handling:
- Positioning: Place the infant on a firm, flat surface. Use two fingers to perform chest compressions just below the nipple line.
- Compression Depth: Push to a depth of about 1.5 inches at a rate of 100-120 compressions per minute.
- Rescue Breaths: Cover the infant’s mouth and nose with your mouth and give two gentle puffs, just enough to make the chest rise.
5. When to Stop CPR
Continue CPR until one of the following occurs:
- Emergency Help Arrives: Paramedics or trained responders take over.
- Signs of Life: The person begins to breathe or regain consciousness.
- Exhaustion: You become too tired to continue, and there is no one else to take over.
6. Common CPR Mistakes and How to Avoid Them
Understanding common mistakes can help improve your CPR effectiveness:
- Not Pushing Hard Enough: Compressions should be deep to move blood effectively. Use your body weight, not just your arms, to push down.
- Inadequate Chest Recoil: Allow the chest to fully rise between compressions to let the heart refill with blood.
- Over-Ventilation: Avoid giving breaths that are too forceful, as this can push air into the stomach instead of the lungs.
7. Using an Automated External Defibrillator (AED)
An AED is a device that can help restart the heart by delivering an electrical shock. Most public places and many homes now have AEDs available:
- How to Use an AED:
- Turn the AED on and follow the voice prompts.
- Attach the pads to the person’s chest as instructed.
- Stand clear and allow the AED to analyze the heart rhythm.
- If advised, press the shock button and immediately resume CPR.
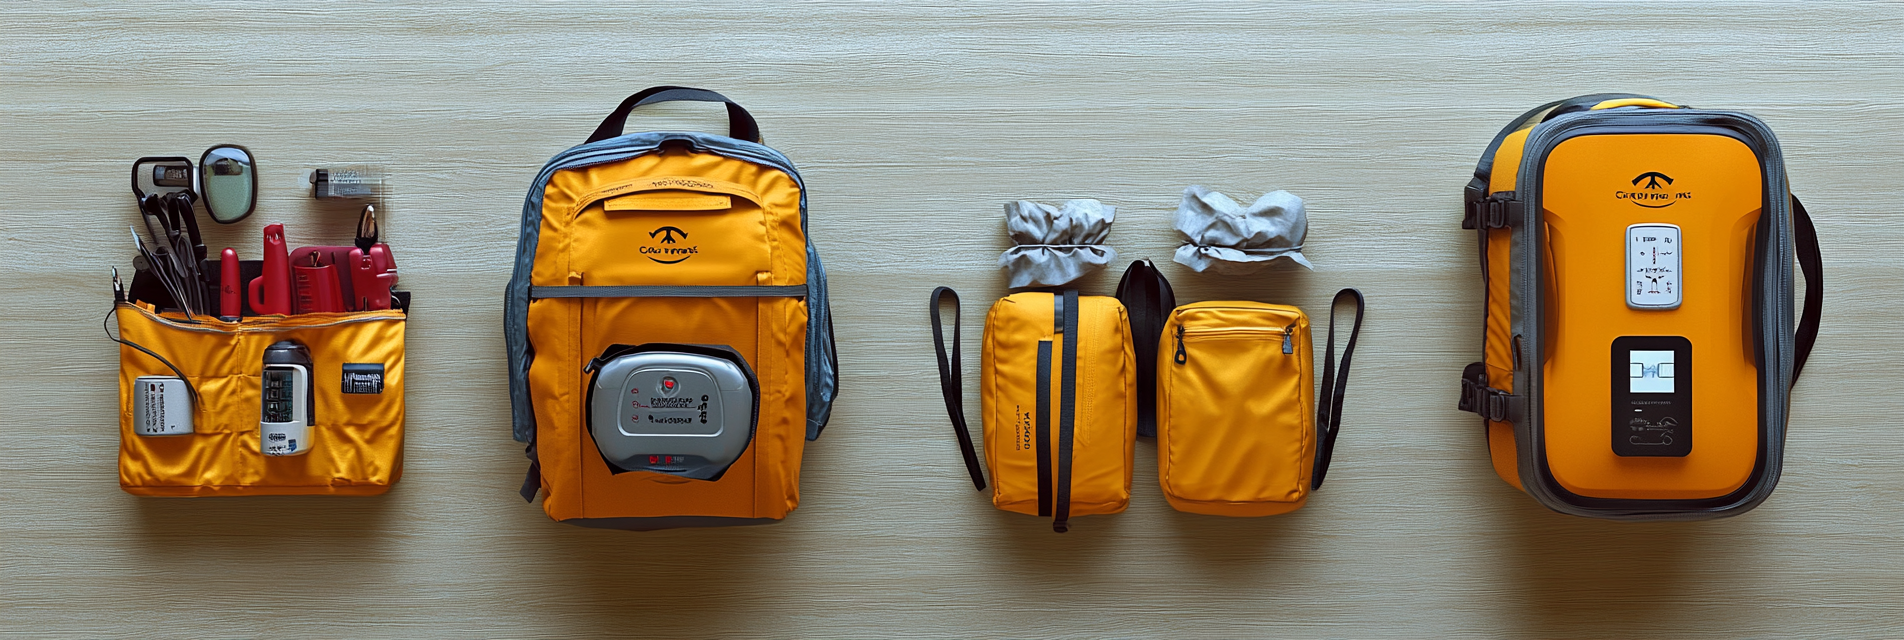
Product Tip: Keep an AED unit such as the Philips HeartStart Home Defibrillator in your emergency kit for added safety.
8. Learning and Practicing CPR
The best way to prepare for an emergency is to practice and stay informed:
- Take a CPR Class: Enroll in a certified course through the American Heart Association or Red Cross to gain hands-on experience.
- Review Regularly: Refresh your CPR knowledge every two years to stay updated on any changes to techniques or guidelines.
- Practice on a Dummy: Use a CPR training manikin like the Prestan CPR Training Manikin for realistic practice sessions.
9. Teaching Children and Family Members CPR
While younger children may not be strong enough to perform full CPR, teaching them basic concepts can be valuable:
- Call for Help: Teach kids to dial 911 and provide their location to emergency responders.
- Hands-Only CPR: Older children and teenagers can learn to perform hands-only CPR (compressions only) for unresponsive adults.
10. Maintaining Calm During an Emergency
Confidence and composure are key during emergencies:
- Take Deep Breaths: Before starting CPR, take a moment to center yourself and focus.
- Use Visual Aids: Keep CPR instruction cards or a chart nearby to use as a quick reference during emergencies.
- Stay Positive: Remember that any attempt at CPR is better than no attempt at all.
Conclusion
CPR is a vital skill that can save lives in critical moments. By learning and practicing the correct techniques for adults, children, and infants, you equip yourself and your household with the ability to respond effectively in emergencies. Paul Lindberg’s Dryer Fire Fighters encourages everyone to stay informed and prepared, turning knowledge into action when it’s needed most.
Serving the communities of:
Kennewick | Pasco | Richland | West Richland | Finley | Burbank | Benton City | Prosser | Grandview | Connell
As the sole certified dryer exhaust technician recognized by CSIA.org in the Tri-Cities area, Paul brings a wealth of expertise to fire prevention. His primary focus lies in addressing the root cause of many residential fires: lint buildup in dryer cavities and vents. Through rigorous inspections and thorough cleanings, Paul ensures that families and businesses can enjoy peace of mind, knowing their properties are safeguarded against fire risks.
