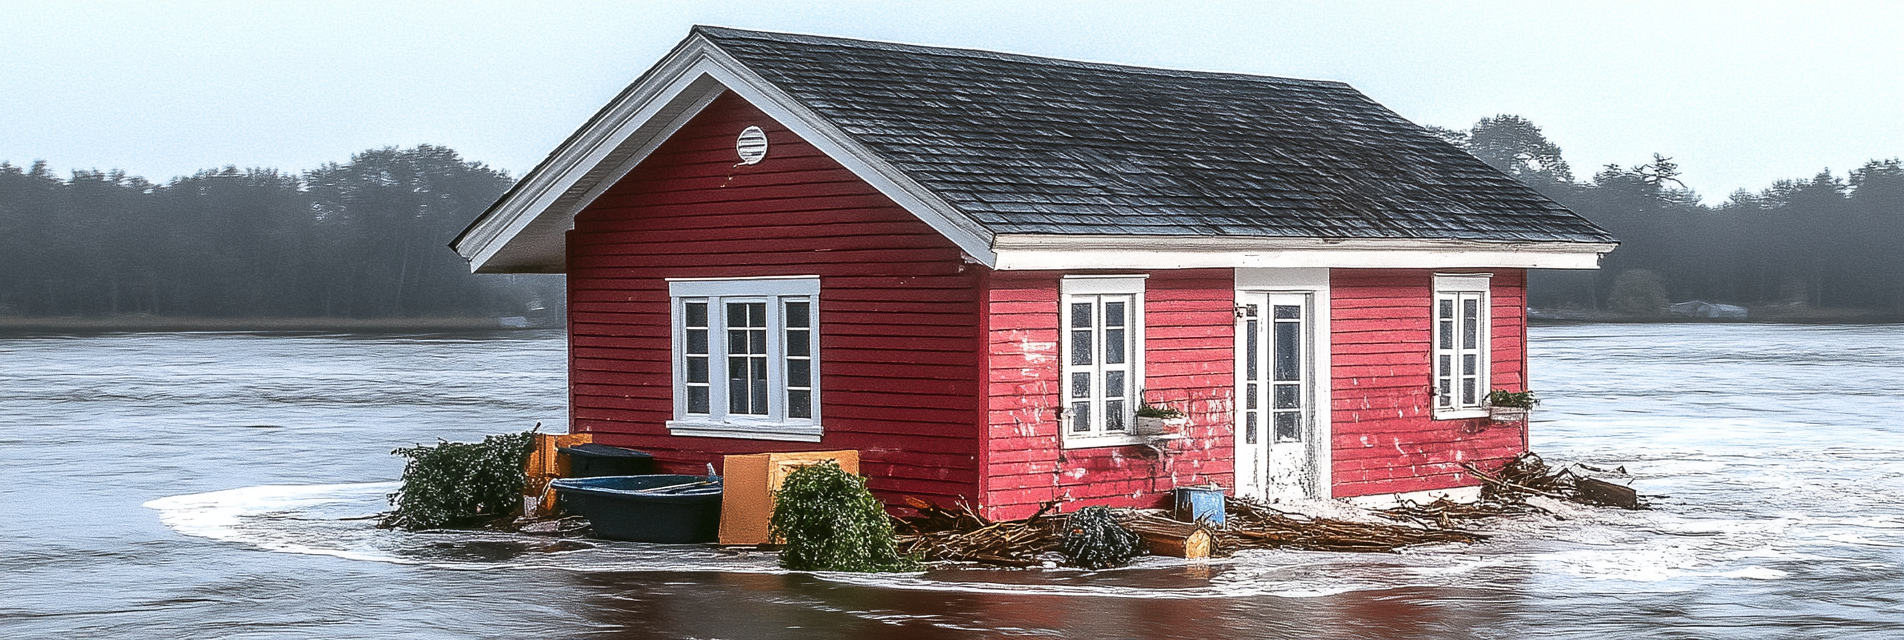
Filing a home insurance claim after a disaster is definitely stressful. However, if you understand the steps ahead of time, it can help you get through it easier. This article outlines a step-by-step guide on how to file a home insurance claim, ensuring that you receive the money you need to repair your house here in the Tri-Cities.
1. Assess the Damage Safely
You and your family’s safety is the top priority, so proceed with caution.
Initial Steps:
- Wait Until It’s Safe: Are you sure it’s safe to enter your home after the disaster? If there is structure damage, wait until a professional has cleared it.
- Wear Protective Gear: Use gloves, boots, and a mask to avoid injury or exposure to hazardous materials.
- Avoid Electrical Hazards: Be cautious around wiring and pay close attention to any water near electrical outlets.
Safety Tip: If your home has what you would consider “significant” damage, we highly recommend having a professional assess its safety before you go inside.
2. Document the Damage
Proper documentation is the most important piece of a successful and fair insurance claim. Take your time to capture detailed evidence with your phone. Take pictures and video. You cannot capture too much evidence before the insurance adjuster arrives (https://dryerfirefighters.com/the-role-of-an-insurance-adjuster-in-home-insurance-claims/).
How to Document Effectively:
- Take Photos and Videos: Capture images and video footage of all damaged areas and items from multiple angles. Make sure you have good lighting, too.
- Create a Written Inventory: List all damaged or lost items, including their approximate value, and age. Get your receipt ready. Hopefully you stored them in your email or on your computer somewhere.
- Keep a Timeline: Note the date and time of the damage and any relevant details you can think of leading up to the event.
Pro Tip: Use a smartphone app for home inventory tracking. Even if you just use your phone’s notes app – fill it up with all the valuable things in your home and garage or shop.
3. Contact Your Insurance Provider
Initiate the claims process by contacting your insurance company. The sooner you do it after the event, the better.
What to Do:
- Call Your Insurance Agent: Notify your agent or the insurance company’s claims department to start the process.
- Provide Initial Details: Be prepared to give a description of the damage and how it occurred. Tell them you have documented the damage extensively with images and video. Let them know you are taking charge.
- Ask About Next Steps: Find out what documentation they will need and what the timeline for the claim process looks like. Stay on them and hold them to their word. If they see they are working with someone who is in charge, they are going to be more responsive.
Expert Tip: Take note of all communications with your insurance provider, including dates, times, and names of the people you speak to. Keep all emails and after you speak with them on the phone, ask them to send you an email with next steps and all that was discussed. You can record the conversation, as well, which we here at Dryer Fire Fighters highly recommend. You just have to tell the person on the other end of the phone that you will be doing it ahead of time.
4. Prevent Further Damage
Once you’ve documented the damage and contacted your insurance company, consider taking some extra steps to prevent further damage (as long as it is low cost). Don’t start doing repairs yourself – especially before the insurance adjuster arrives.
Temporary Repairs:
- Tarp the Roof: If your roof is damaged, cover it with a tarp to prevent rain from damaging things further.
- Board Up Windows: Cover broken windows with plywood or plastic.
- Dry Out Water-Damaged Areas: Use fans or dehumidifiers to start the drying process if you’ve had water damage.
Important: Keep all receipts and documentation of temporary repairs for reimbursement, too. These will be part of your claim.
5. Meet with the Insurance Adjuster
Your insurance company will send an adjuster to inspect the damage and determine the extent of the claim. Read this article first: https://dryerfirefighters.com/the-role-of-an-insurance-adjuster-in-home-insurance-claims/
What to Expect:
- Prepare for the Visit: Be available to walk the adjuster through your home and point out all areas of damage. Tell them you’ve also taken a ton of pictures and video so he or she knows you are prepared.
- Provide Documentation: Share your photos, videos, and inventory list. Show them you have all the information and are on top of things so they don’t think they can take advantage of you.
- Ask Questions: Clarify any doubts you have about the coverage, the claim amount, or the next steps in the process by having your questions written down before they arrive so you don’t miss anything.
Pro Tip: Consider hiring a public adjuster if you feel that you need additional help in negotiating the claim with your insurance company.
6. Review the Settlement Offer
After the adjuster’s visit, you will receive a settlement offer from your insurance company.
Steps for Reviewing:
- Compare with Your Estimate: Ensure the settlement offer aligns with your damage assessment and repair estimates.
- Negotiate if Necessary: If the settlement seems insufficient, don’t hesitate to negotiate with your insurer and provide additional documentation. We recommend always rejecting the first offer. Too many people just take it thinking that’s the best they will get. Remember, your insurance company signed a contract with you promising to pay. Hold them to it!
- Understand Your Deductible: Be aware of your deductible. It will be taken off the payment you receive.
Expert Tip: Consult a contractor for an independent repair estimate to ensure that the insurance settlement is adequate. Consider hiring Ryan Brightman at Proper Home Inspections for a thorough review of your home’s state (https://properhomeinspections.com/).
7. Begin Repairs and Restoration
Once you agree on the settlement, you can begin repairing and restoring your home. We recommend Josh Unger at Rivard Construction (https://www.rivardkitchens.com/). It’s who we personally do business with.
Repair Tips:
- Choose Licensed Contractors: Work with contractors who are licensed and experienced in your type of damage.
- Stay in Communication: Keep your insurance provider updated on the repair progress and any additional findings that may affect the cost.
Safety Tip: Be cautious of contractors who show up unsolicited after a disaster, as this can be a sign of a scam. Just ask the people in hurricane-ravaged Florida.
Conclusion
Filing a home insurance claim after a disaster is a complex process, espeically if you’ve never done it before. Knowing the steps involved will make it easier. By documenting the damage and understanding your coverage, you can get through it more confidently and with a fair payout. Dryer Fire Fighters recommends you always review your home owner’s policy and consider doing it annually so you can keep it up to date and be prepared for the unexpected.
Serving the communities of:
Kennewick | Pasco | Richland | West Richland | Finley | Burbank | Benton City | Prosser | Grandview | Connell
As the sole certified dryer exhaust technician recognized by CSIA.org in the Tri-Cities area, Paul brings a wealth of expertise to fire prevention. His primary focus lies in addressing the root cause of many residential fires: lint buildup in dryer cavities and vents. Through rigorous inspections and thorough cleanings, Paul ensures that families and businesses can enjoy peace of mind, knowing their properties are safeguarded against fire risks.
